
I wanted to use a single account to log into my Azure and Google Cloud environments and automatically provision “source of truth” accounts from Entra ID to Google Cloud Identity. This article will explain how I configured account provisioning of the identity federation solution between Microsoft Entra ID and Google Cloud Identity.
Prerequisite#
For this excercise, here are the basic items that I used for this solution
An internet domain name. For example:
domain.tldA Microsoft 365 business account using your domain name
A free Google Cloud Identity account
To create a Cloud Identity account, go to the Google Cloud Identity sign up page and follow the setup instructions for a free account.
After creating your account, you must verify that you own the domain. The sign-up form will generate a unique code for your DNS record during the sign-up process. To complete the verification, create a TXT record using this code in your domain registrar or DNS portal, and follow the DNS verification steps to finish the process.
Google admin steps#
Log into the Google Admin console with your credentials used when signing up for Google Cloud Identity
Create a break glass account under Directory -> Users for emergencies. Do save the credentials in a Password manager. It can be used to log into the Google Admin console if the federation solution is not working and access is needed.
Creating an account in Google Admin
When setting the password for this account, ensure that it is a complex one and validate that “Ask user to change their password when they sign in” is unchecked
Create an OU for the Microsoft Entra ID automation account at Directory -> Organizational Units. Highlight the organization root and click the “+” button
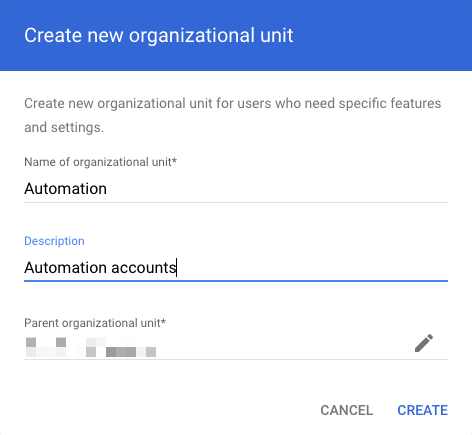
Creating an OU in Google Admin Click Create
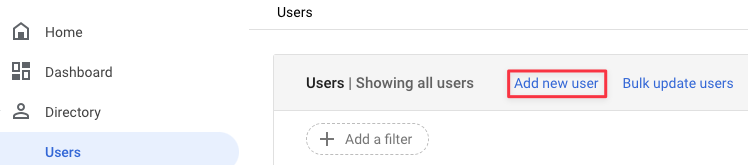
Go to Directory -> Users and create a new account that Microsoft Entra ID will use
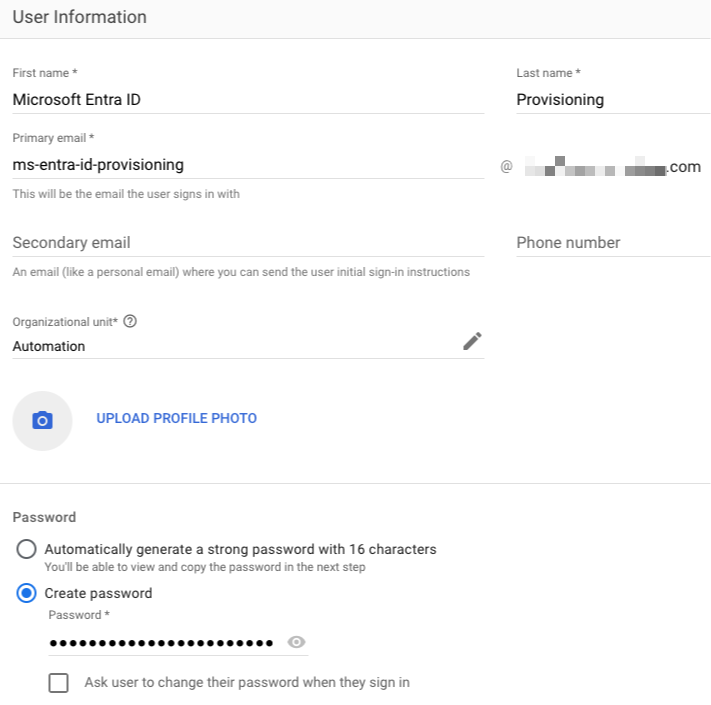
Entra ID account details Grant permissions for the automation account via a custom role. Navigate to Account -> Admin Roles and click on “Create new role”
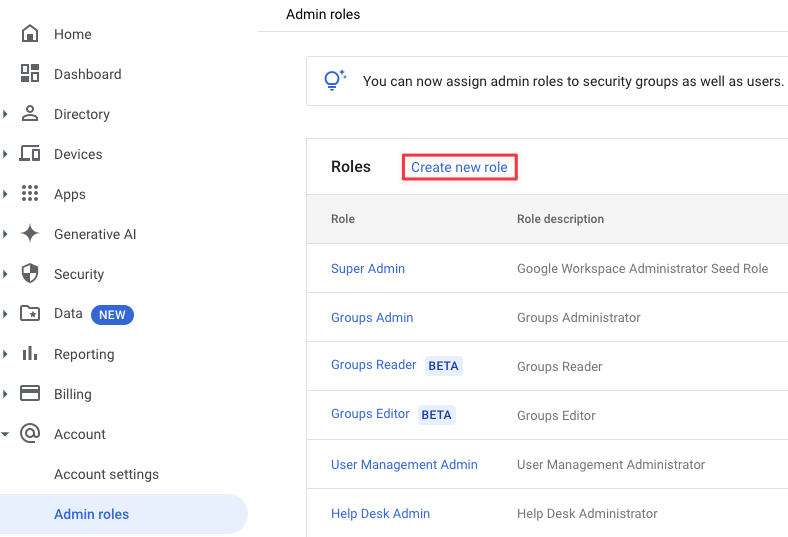
Creating an admin role Provide a name and description. Click Continue
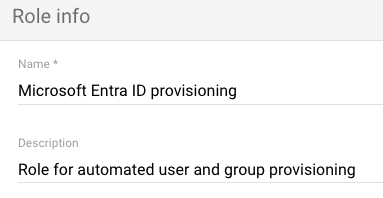
Google Admin role name and description Grant Organizational Units -> Read, Users and Groups. Click Continue

Google Admin role rights Click on Create Role
Now to assign accounts, click on Assign members
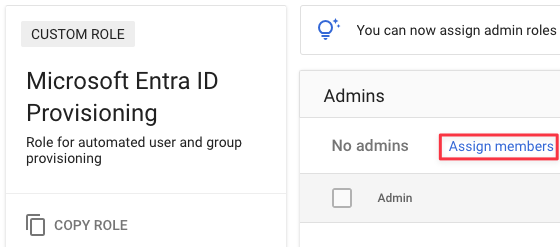
Assigning an account to a role Search for the account and click on Assign Role
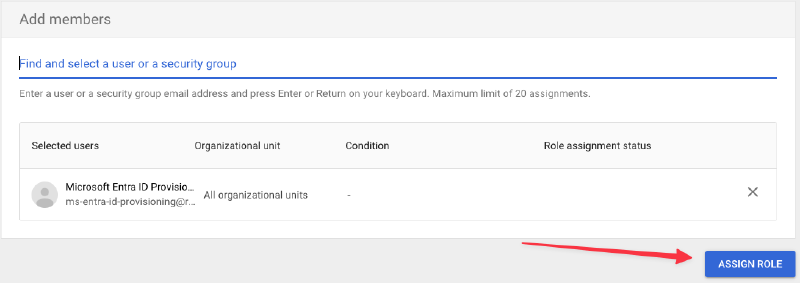
Assigning an account to a role Create another OU for Microsoft Entra ID provisioned accounts
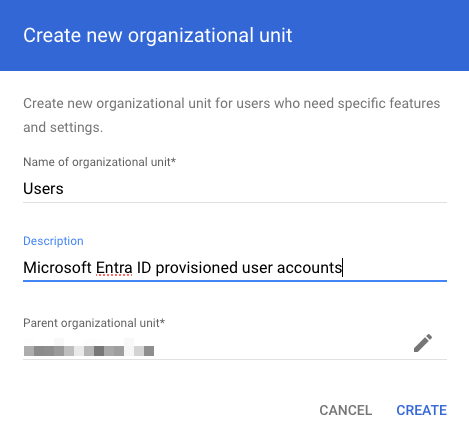
Creating an OU in Google Admin
Microsoft Entra ID Provisioning steps#
In the Azure Portal, go to Microsoft Entra -> Enterprise applications
Click on New application

Creating a Microsoft Entra ID application Search for “Google Cloud” and click on the “Google Cloud / G Suite Connector by Microsoft” app
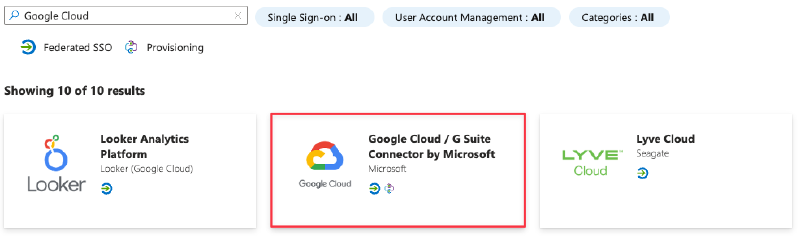
Entra ID built-in applications Rename the app to something meaningful and click Create
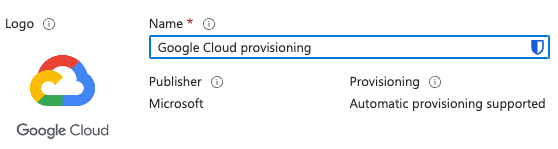
Google Cloud Entra ID application On the left, go to Manage -> Properties
Select No for:
“Enabled for users to sign-in”
“Assignment required”
“Visible to users”
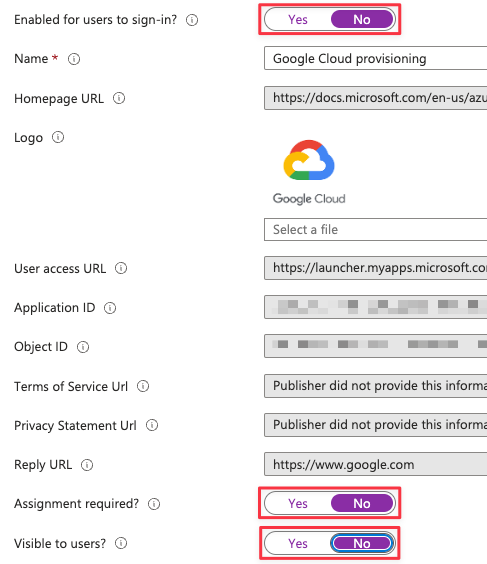
Entra ID application configuration
Click Save towards the top
Go to Manage -> Provisioning and click “Get Started”
Change “Provisioning Mode” to Automatic
Under Admin Credentials, click Authorize
Enter the username/password for the provisioning account that you created earlier in Google Admin
Click the “I understand” button to the new account agreement
Choose “Select All”

Choosing what Entra ID can access Click Continue
Click the “Test Connection” button
Validate the test completes successfully
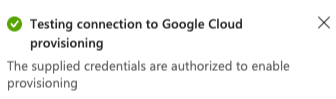
Confirmation Click Save
User and Group provisioning#
In the Microsoft Entra ID provisioning app, go to Manage -> Provisioning
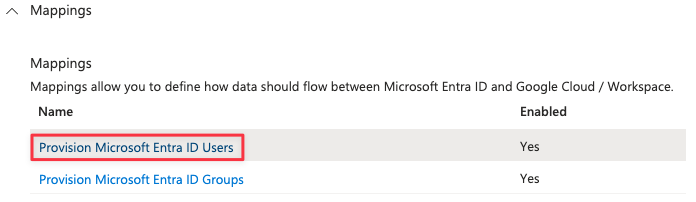
Expand Mappings
Click the “Provision Microsoft Entra ID Users” link
For the following attributes, click the Edit button and set the field “Default value if null (optional)” to an underscore:
- “name.familyName”
- “name.givenName”
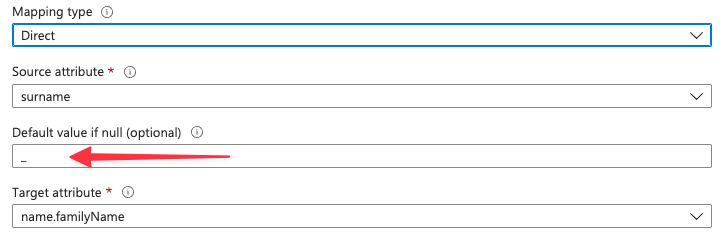
Configure Entra ID user mappings
Click OK
Click Save at the top and confirm the changes
Go back to the Provisioning -> Mapping and click the “Provision Microsoft Entra ID Groups” link
Click Edit for the “email” attribute and change “GROUPS_DOMAIN” match your own FQDN
- “Mapping type”: Expression
- “Expression”: “Join(”@", NormalizeDiacritics(StripSpaces([displayName])), “GROUPS_DOMAIN”)"
- “Target attribute”: email
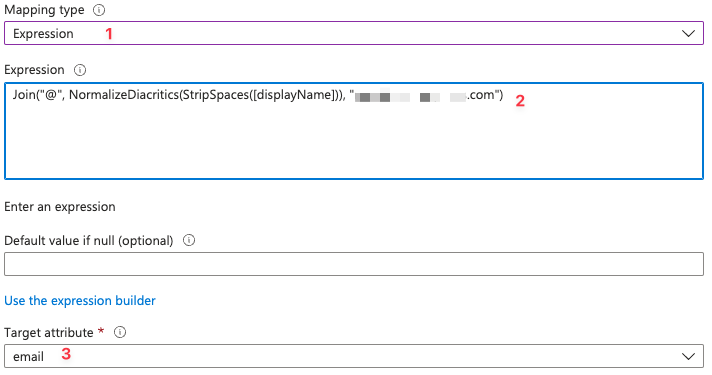
Configure Entra ID group mappings
Towards the bottom, click “Add New Mapping”
Use the following options to indicate which OU to provision user accounts in
- Mapping type: Constant
- Constant Value: /Users
- Target attribute: OrgUnitPath
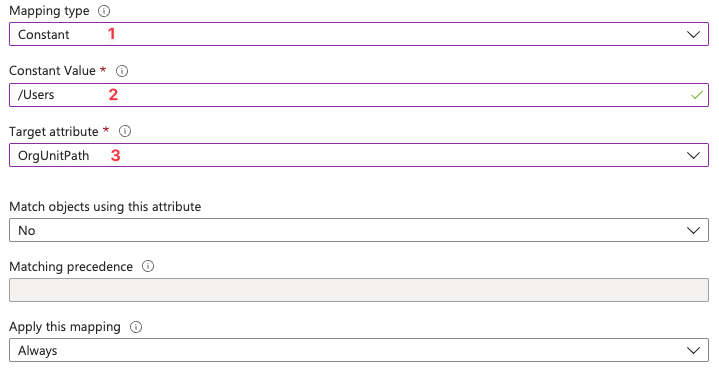
Configure provisioning OU
Click OK
Click Save and confirm
Assigning user accounts#
Since I’m using the free Azure Entra ID, I cannot sync groups
On the Microsoft Entra ID provisioning app, go to Manage -> Users and groups
Add one or more users to provision
Click Select
Click Assign
Your result, should look similar to this
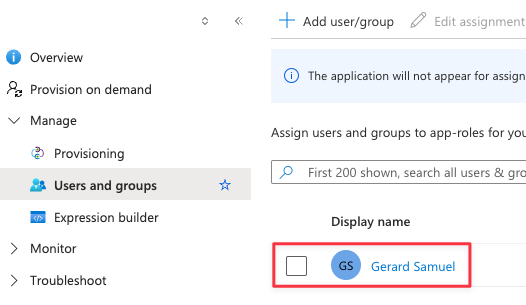
Provisioning example
Enable provisioning#
In the Microsoft Entra ID provisioning app, go to Manage -> Provisioning
Click the “Edit Provisioning” pencil at the top
Under Settings, validate scope is set to “Sync only assigned users and groups”
Under Settings, enable “Prevent accidental deletion” and enter a threshold of how many accounts the application can delete/disable users automatically
Set Provisioning Status to “On”
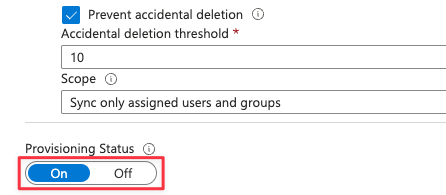
Turning on user provisioning Click Save
Give the process some time (5-10 minutes) to execute
On the provisioning overview page, you should see the status of the provisioning job
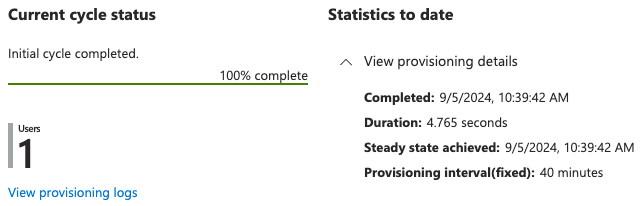
Entra ID provisioning status In Google Admin, go to Reporting -> Audit and investigation -> Admin log events. You should be able to find a log entry indicating when the account was created in Cloud Identity.
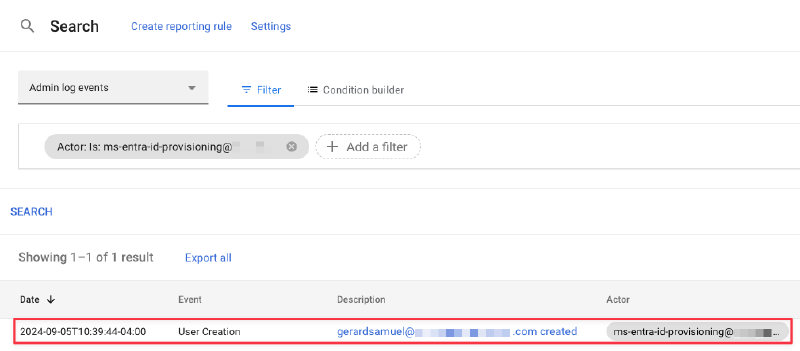
Google Admin provisioning status
Wrap up#
In this article, I created a new relationship with Google Cloud Identity. I used a Microsoft Entra ID application to provision accounts and groups to Google Cloud Identity from Entra ID. In another article, I will provide the steps for configuring SAML/Single sign-on authentication.